<style>
.main{
}
.main img{
border-radius:10px;
}
.main h1{
text-align: center;
border: none;
color:4B4B4B;
letter-spacing: 3px;
}
.main h6{
text-align:right;
color:#F4AA14;
font-size:18px;
}
.main code{
background-color:#FFF0D1;
padding: 8px 10px;
border-radius: 20px;
margin-right:7px;
}
.main h2{
background-color:#0B8D97;
color:#fff;
width: max-content;
padding: 7px 25px 7px 17px;
border-top-right-radius: 40px;
border-bottom-right-radius: 40px;
border-bottom: none;
margin-top:46px;
margin-bottom: 25px;
}
.main h2 img{
padding-bottom: 4px;
border-radius:0;
}
.main p,li{
font-size: 18px;
line-height: 29px;
letter-spacing: 0.15em;
color:#525252;
}
.main .result{
background-color:#0B8D97;
padding:0.8rem 1rem 1rem 1rem;
border-radius: 10px;
}
.main .result h3{
text-align:center;
color:#fff;
margin-bottom:3rem;
}
.main .result h3 img{
margin-bottom:0.5rem
}
.main .result .pic img{
border: 5px solid #FFFFFF;
}
.main .pic{
text-align:center;
width: 84%;
margin: auto;
margin-top: 2rem;
}
.pic p{
color:#fff;
text-align:left;
font-size:1.8rem;
line-height:4rem
}
</style>
<div class="main">
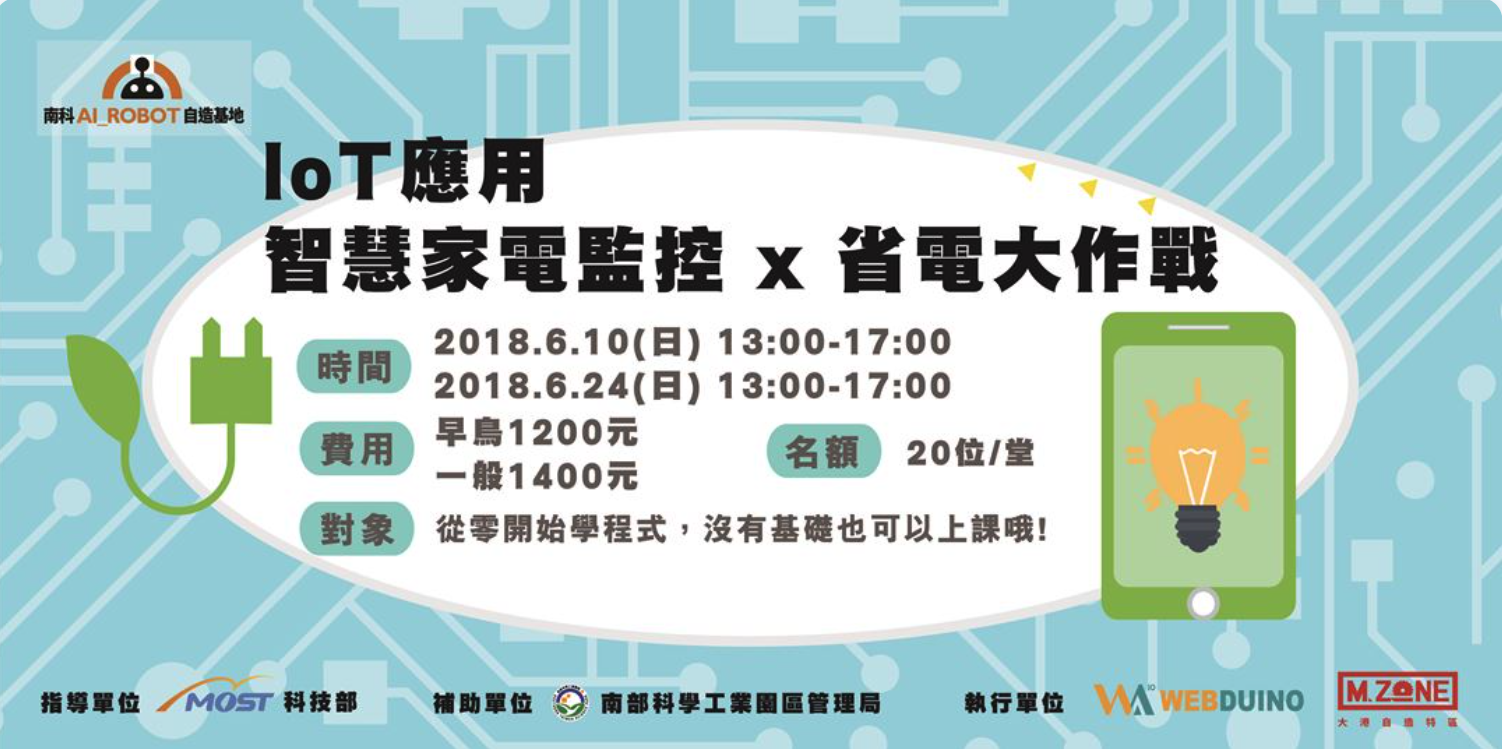
# IoT 應用 - 智慧家電監控 x 省電大作戰
###### `初階` 4 小時
##  課程目的
只要 4 個小時,你將擁有別人就算看書也學不到的技術力和知識力!
無論是用手機操控,或是串接 Email 發送開/關燈通知都難不倒你,透過 4 小時穩紮穩打的實作流程,帶你掌握最完整的物聯網開發歷程,算是回到家裡,也可以輕鬆的實現各種居家改造的創意,真正落實雲端監控、智慧生活!
##  課程內容
1. 智慧插座應用原理剖析
2. 組裝智慧插座教學
3. 快速實踐 Webduino IoT 範例
- 網頁互動控制智慧燈泡
- 行動裝置遙控智慧燈泡
- 實戰智慧小夜燈
4. 智慧插座與 NodeRed
- 執行環境建置:使用 NodeJS、NodeRed
- 發送 E-mail 通知家中電器狀態
5. 進階應用展示
- 發送 LINE 訊息,傳送開關燈狀態
##  課前準備
1. 筆電(安裝 Chrome 瀏覽器)
2. 電力滿滿的行動電源(有的話更佳)
3. 智慧型手機(有的話更佳)