#### 回到 [`教學大綱`](https://md.kingkit.codes/s/siSKyknlU) / �[`二、Web:AI 程式積木`](https://md.kingkit.codes/s/X4vMmbtp_)
<style>
blockquote.announcement {
background-color: #f4aa14;
height: 50px;
width: 100%;
display: flex;
justify-content: center;
border-left: none;
}
blockquote.announcement p {
color: white;
height: 100%;
align-items: center;
display: flex;
}
.announcement a {
background-color: rgba(0, 0, 0, 0.2);
text-decoration: none;
padding: 6px 16px;
border: 1px;
border-radius: 8px;
color: #fff;
line-height: 30px;
}
</style>
<blockquote class="announcement">
<p>
Webduino 學習手冊網站即將改版,提供您更好的閱讀體驗!<a
href="https://resource.webduino.io/docs/webai"
target="_blank"
rel="noopener"
>搶先試用</a
>
</p>
</blockquote>
# 自訂模型
在使用 Web:AI 時,可以使用自己的 AI 訓練工具,建立獨一無二的模型來進行 AI 功能。
因為模型格式必須符合 Web:AI 開發板的韌體規格,因此建議使用 Webduino 提供的 Google Colab 操作步驟來訓練影像分類模型。
## Colab 訓練自訂模型
我們可以使用 Teachable Machine 和 Colab 等工具來訓練自己的模型,因為是使用自己獨立的 Google 帳號空間訓練,因此訓練步驟快,歡迎參考以下步驟:
<iframe src="https://www.youtube.com/embed/r6b2Wl43PC0" allowfullscreen width="100%" style="aspect-ratio:728/410;border:none " ></iframe>
>- [Teachable Machine](https://teachablemachine.withgoogle.com/)
>- [Web:AI Colab 影像訓練](https://colab.research.google.com/drive/1XttGHmvn5oK2RjomdHtnMUvPqlqB4oKk?usp=sharing)
## 匯入自訂模型
訓練完自己的模型後,需要將模型匯入 Web:AI 開發板,才能開始使用「自訂模型」積木。
### 步驟
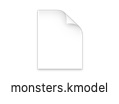
1. 準備好模型,副檔名為 .kmodel,如下圖:
2. 將 Web:AI 開發板透過 USB 連接上積木平台。
2. 點擊「更多」中的「匯入模型」。

3. 選擇 kmodel 模型檔。
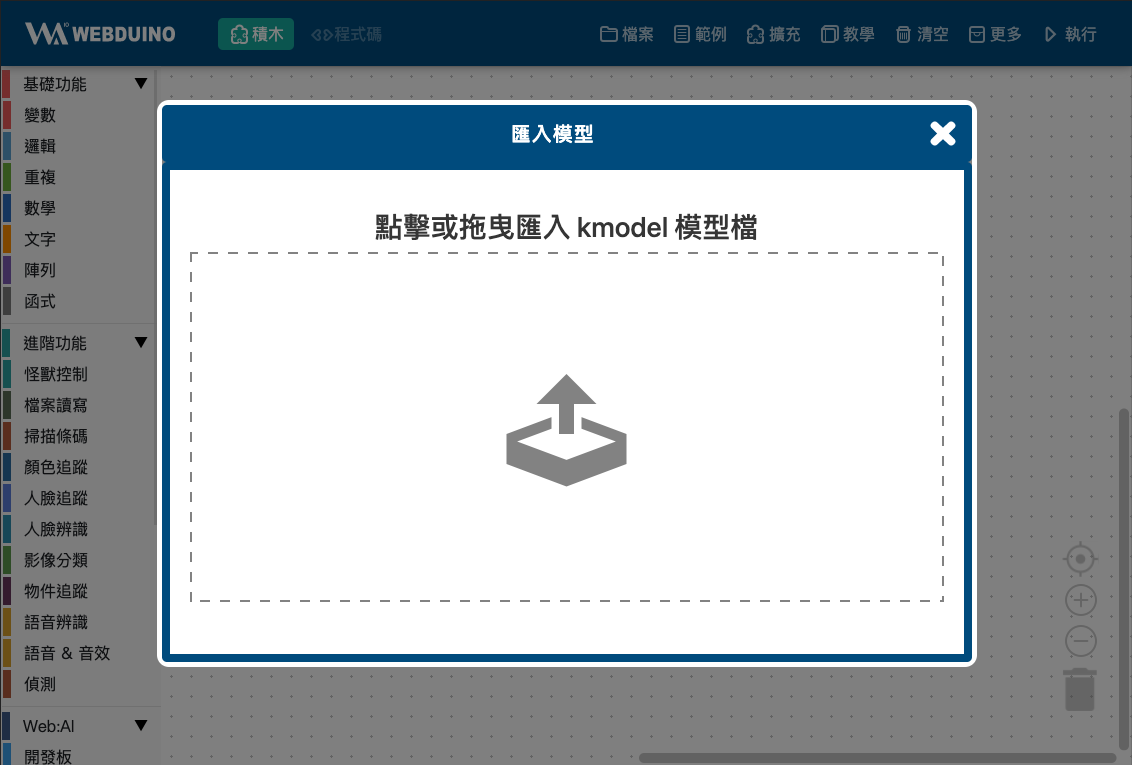
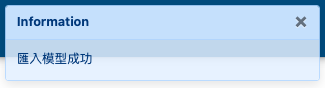
4. 等待匯入模型完成就可以開始使用「自訂模型」積木!
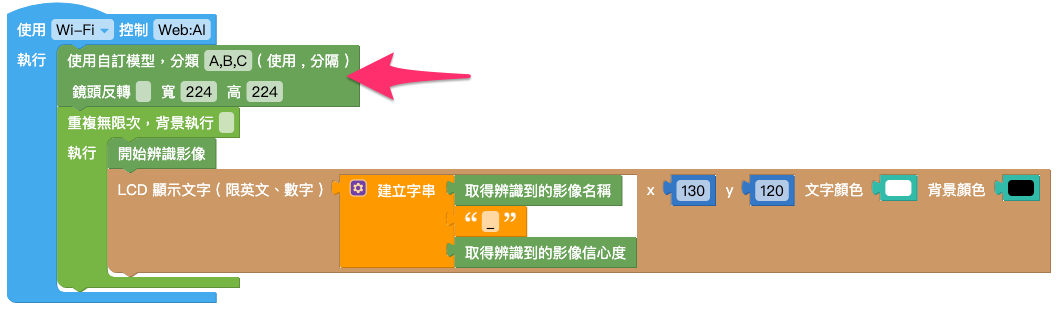
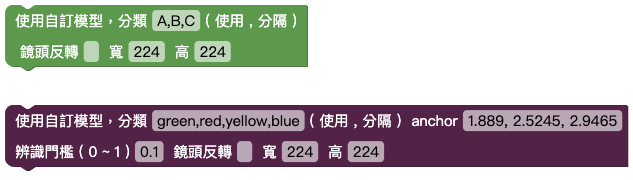
## 自訂模型積木
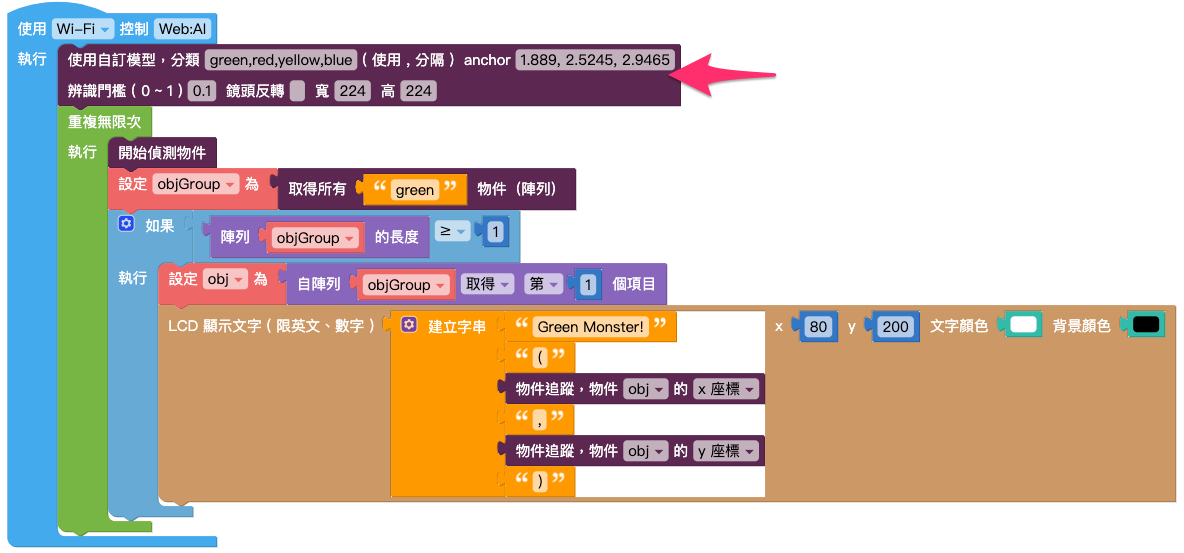
「自訂模型」積木分為「影像分類」及「物件追蹤」,使用前需要手動輸入分類順序及 anchor,用法、顏色和一般的積木相同。
> 因為物件追蹤原理與物件方框有關,因此需要根據不同訓練方式填入對應的 anchor。
積木使用方式可以參考:[影像分類](https://md.kingkit.codes/s/XsGqYu8lP)、[物件追蹤](https://md.kingkit.codes/s/BrL3wxxd_),只需要將「設定模型」積木替換即可使用!